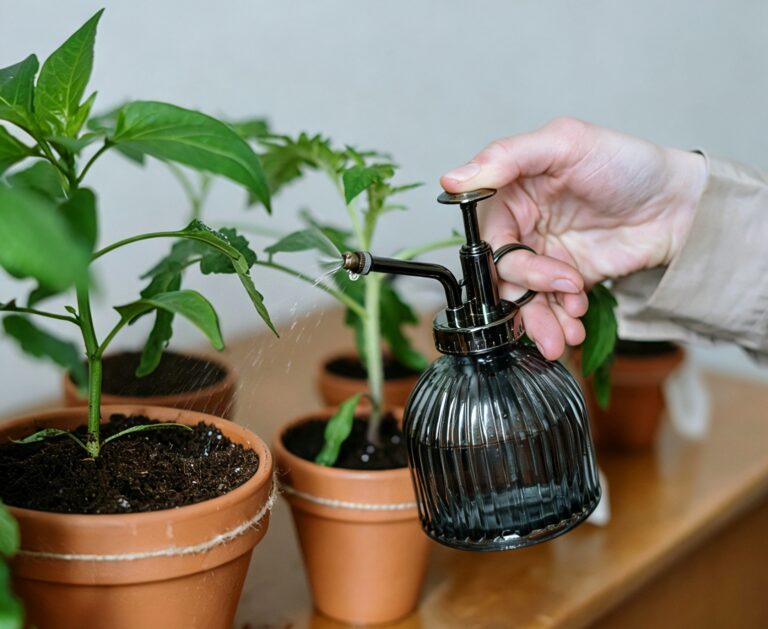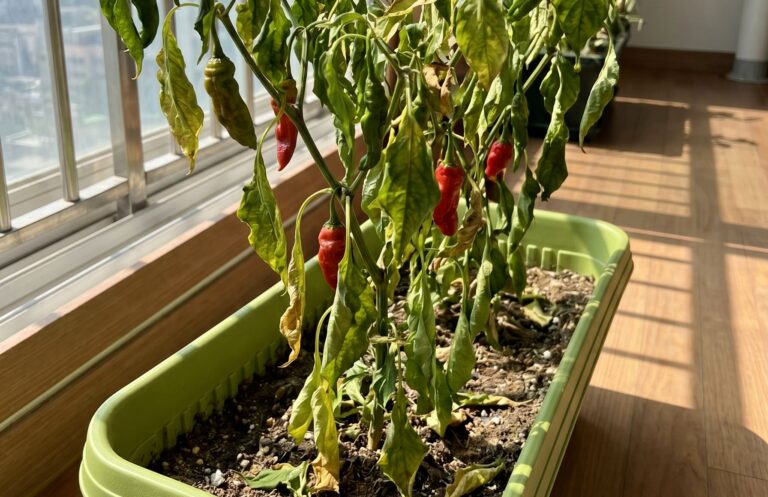
- First, keep these three golden rules in mind—otherwise, you’ll likely kill your plants.
- Nitrogen Fertilizer: Nourishes Leaves, Promotes Lush, Vibrant Greens
- Phosphorus Fertilizer: Promotes Flowering and Fruit Set, Ensuring Plump Pods and Vibrant Red Tomatoes
- Potassium Fertilizer: Promotes Stem Sturdiness and Disease Resistance
- Complete Fertilizer: Contains nitrogen, phosphorus, and potassium; suitable as a base fertilizer
- Micronutrient Fertilizer: Supplement what’s missing—don’t wait until the leaves turn yellow to panic.
- Two General Methods: Compost Tea and Sealed Composting
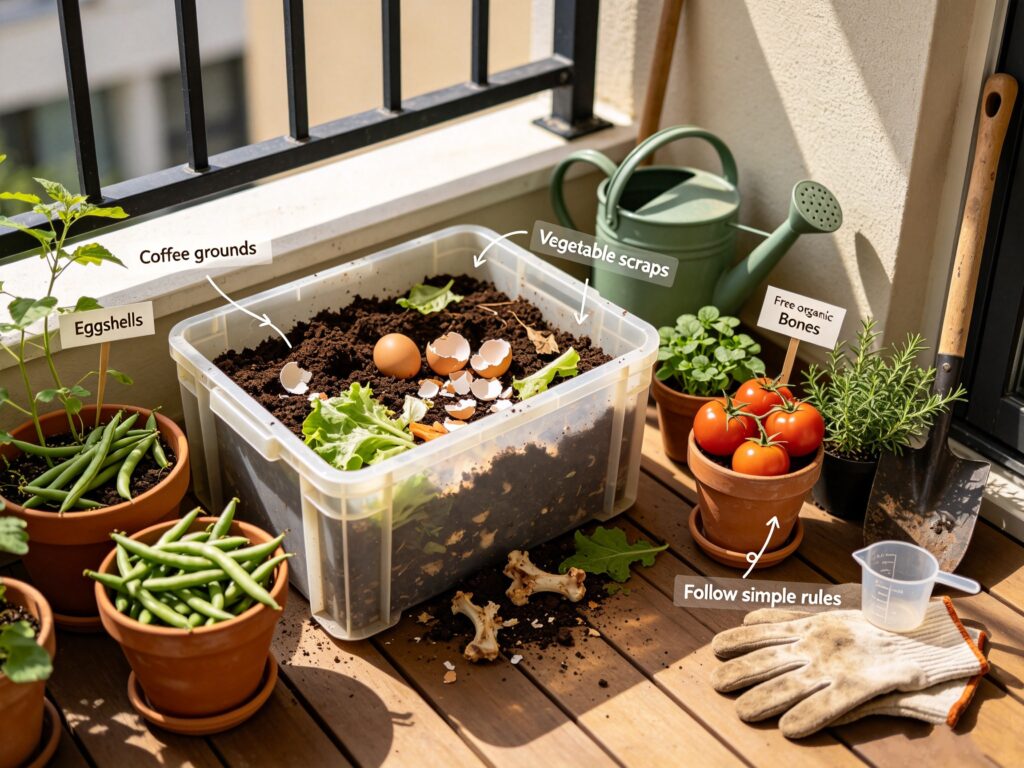
You don’t necessarily have to buy all those jars and containers from the store to grow vegetables on your balcony. Many of the things you throw away every day while cooking—coffee grounds, eggshells, vegetable scraps, and bones—can be turned into high-quality fertilizer through composting. Free Organic Fertilizer from Kitchen Scraps—the process isn’t complicated; the key is to follow a few simple rules. Below, I’ll break it down by nutrient type. For each type of fertilizer, I’ll explain what ingredients to use, how to make it, how to apply it, and how much to use. If you’re a first-timer, follow these steps.
First, keep these three golden rules in mind—otherwise, you’ll likely kill your plants.
No matter what kind of fertilizer you plan to use, these three rules are non-negotiable. Breaking any one of them can result in yellowing leaves or, in severe cases, the death of the entire plant.
Rule 1: Fertilizer must be fully decomposed before use. Unfermented raw fertilizer—such as fresh soybean pulp, raw fish guts, or rice-washing water that hasn’t been properly composted—will continue to ferment in the soil if poured directly into the pot. This fermentation generates heat that scalds the fine roots—a condition commonly known as “root burn.” The criteria for determining full decomposition are simple: the liquid should turn deep black and smell like soil rather than a sour, foul odor; the solids should turn into dark brown crumbs that no longer resemble their original form.
Rule 2: Always dilute before use. No matter what kind of homemade fertilizer solution you’re using, you must mix it with water after preparing it. The safe ratio is 1 part liquid fertilizer to 9 parts water, resulting in a 10% concentration. If you’re using a particular fertilizer for the first time, play it safe and dilute it to a 1:12 ratio. It’s better to water a few extra times with a weaker solution than to burn the roots with a single concentrated application. There’s a saying in the European and American balcony gardening community: “weakly, weekly”—watering once a week with a dilute solution is much safer than applying a concentrated solution once a month.
Rule 3: Apply small amounts frequently; don’t try to make up for everything in one go. The soil in a container amounts to only a few liters, and the root system is confined to a small space—it can’t handle a large, sudden dose. Adding a small amount of diluted fertilizer with each watering, allowing the roots to absorb it gradually, is far more effective than applying a concentrated dose once every two weeks.
Nitrogen Fertilizer: Nourishes Leaves, Promotes Lush, Vibrant Greens
Nitrogen is a key component of chlorophyll. Typical symptoms of nitrogen deficiency include yellowing of older leaves, stunted new growth, and slow overall plant growth. Leafy greens—such as lettuce, Swiss chard, spinach, and arugula—consume the most nitrogen and require a steady supply throughout their growing season.
Soybean pulp and spoiled legumes: Soybean pulp left over from making soy milk, or soybeans, peanuts, and sunflower seeds that have gone moldy after being stored at home for a long time, are all excellent sources of nitrogen. Boil these ingredients in water until they fall apart, let them cool, then transfer them to a covered bucket. Add enough water to submerge the ingredients, seal the lid tightly, and place the bucket in a corner of your balcony. In the summer heat, fermentation typically completes in about 10 days. Skim off the clear liquid from the top, dilute it with water using a 10:1 ratio, and water your potted plants with it. After use, add more water to continue the fermentation process; one bucket can be reused several times.
Coffee grounds: If you drink coffee at home, don’t throw away the grounds. However, they should not be sprinkled directly onto potting soil—doing so will form a hard crust that blocks water penetration and promotes mold growth. The correct way to use them is to mix them into a compost pile to decompose, or to mix a small amount into potting soil—no more than 10% of the total soil volume. Coffee grounds are slightly acidic and are suitable for growing blueberries, but use them sparingly when growing Mediterranean herbs (rosemary, thyme, lavender).
Fresh Grass Clippings: If you have a lawn, don’t throw away the grass clippings after mowing. Place them in a bucket, cover with water, and let them soak; after about a week, the water will turn light brown. Strain it, dilute it with water, and use it to water leafy greens—the results are similar to those of diluted soybean pulp water. Be careful not to use weeds that have gone to seed, or the seeds will end up in the pots with the fertilizer water and grow into weeds.
When to Apply Nitrogen Fertilizer: Leafy vegetables require nitrogen throughout their entire growing season; for fruiting vegetables (tomatoes, peppers, green beans), moderate application is appropriate before flowering, but once the flowering stage begins, nitrogen fertilizer should be reduced in favor of phosphorus and potassium fertilizers; otherwise, the plants will “grow leaves but fail to bear fruit.”
Phosphorus Fertilizer: Promotes Flowering and Fruit Set, Ensuring Plump Pods and Vibrant Red Tomatoes
Phosphorus is a key element for plant energy metabolism and flower bud differentiation. Symptoms of phosphorus deficiency include sparse flowering, excessive flower drop, and small fruits. When growing tomatoes, chili peppers, and green beans on a balcony, yields will be significantly reduced if phosphorus fertilizer is insufficient.
Eggshell Powder: Eggshells are the most accessible raw material for producing phosphorus fertilizer, but they require proper preparation. First, rinse off any residual egg white from the inner surface of the shells; otherwise, they will develop an odor and attract pests. Second, dry them in the sun or in a low-temperature oven until the shells crumble when squeezed. Third, grind them into a powder using a rolling pin or a grinder. There are two ways to use it: First, mix 1 part eggshell powder with 3 parts potting soil to create a base fertilizer, which can be used directly when repotting. Second, 2 to 3 weeks before flowering, dig a shallow trench around the edge of the pot, sprinkle the eggshell powder into it, and then cover it with soil. In addition to phosphorus, eggshell powder is rich in calcium, which is very helpful in preventing tomato blossom-end rot.
Fish bones and meat bones: Take the fish bones, fish heads, and fish scales left over from eating fish, as well as pork and chicken bones left over from eating meat. Wash them thoroughly, then steam them in a pressure cooker for about 30 minutes, until the bones become tender. Remove them, let them air dry, and crush them into a powder. To use, mix 1 part bone meal with 3 parts coarse sand or perlite. Stir well, then spread a layer about 3 centimeters thick at the bottom of the flower pot. Cover with a layer of soil before planting the seedlings. Bone meal is a slow-release fertilizer, and its nutrients will last throughout the entire growing season.
Hair and Nails: Clipped hair and nails contain phosphorus and keratin nitrogen. Chop them up and bury them in the shallow soil around the edge of the pot—do not place them directly against the roots. Feathers can be used in the same way: cut them into small pieces, soak them in water to make liquid fertilizer, or bury them deeply. The fertilizer effect is relatively long-lasting, lasting one to two growing seasons in containers.
Potassium Fertilizer: Promotes Stem Sturdiness and Disease Resistance
Potassium helps make stems sturdier and enhances resistance to lodging, pests, and diseases. Balconies are windy, and if potassium levels are low, tomatoes and chili peppers are prone to being blown over.
Rice-washing water: This common kitchen waste is a source of potassium fertilizer found in every household. However, rice-washing water should not be poured directly into flower pots—unfermented rice-washing water will form a film on the soil surface, blocking air circulation and attracting small black flies. The correct method: Pour the rice-washing water into a bottle and let it settle for a few hours. Skim off the clear liquid from the top, mix it with an equal amount of clean water, and let it ferment for 3 to 5 days. When ready to use, dilute the fermented solution at a ratio of 1 part to 3 parts clean water. When watering, avoid the leaves and pour the solution directly onto the soil.
Leftover tea water: Both leftover cooled tea water and tea leaves can be used. Don’t let the tea leaves pile up too thickly on the surface of the pot; mix them into the soil or toss them into the compost bin. Strong tea tends to be acidic, making it suitable for acid-loving plants, but Mediterranean herbs (rosemary, thyme, oregano) don’t do well with it, so use it sparingly.
Vegetable and Egg Cooking Water: Water used to cook potatoes, carrots, spinach, and hard-boiled eggs can be poured directly onto plants once it has cooled. This water contains dissolved potassium and trace organic matter, making it more nutritious than plain tap water. Be sure not to use cooking water that has had salt added.
Water from fish tanks: If you keep fish at home, don’t pour out the water when you change it. Aquarium water contains fish waste and nitrification byproducts, making it a ready-made, diluted liquid fertilizer. Mix it with an equal amount of clean water, and water your plants directly. However, be careful: if medication has been added to the tank recently, do not use that water. —For more watering tips, check out how to water potted vegetables.
Complete Fertilizer: Contains nitrogen, phosphorus, and potassium; suitable as a base fertilizer
If you don’t want to sort through different types of fertilizer and prefer a one-stop solution, you can make a complete fertilizer—it contains small amounts of nitrogen, phosphorus, potassium, and trace elements, making it suitable for mixing into the soil as a base fertilizer when repotting.
Composting Herbal Tea Leaves: Take the used herbal tea bags—such as chamomile, mint, or nettle leaves—open them, pour out the tea leaves, mix them into old potting soil, add a small amount of water to keep it moist, place the mixture in a sealed bag or a bucket with a lid, and store it in a cool, shaded place. In about a month, the tea leaves and soil will decompose together, turning into dark brown, fertile soil. This compost can be mixed directly into new potting soil at a ratio of 1 part compost to 3 parts new soil.
Bone Meal Compound Base Fertilizer: Steam pork, beef, and chicken bones in a pressure cooker for 30 minutes, then crush them into a fine powder. Mix the bone meal thoroughly with coarse sand or perlite at a ratio of 1 part bone meal to 3 parts coarse sand or perlite. When repotting, place a 3-cm layer of this mixture at the bottom of the pot, cover it with a layer of potting soil, and plant the seedling. This base fertilizer provides gentle, long-lasting nutrition, so you won’t need to worry about applying additional fertilizer for a growing season.
Green Manure Liquid: Collect about 2.5 kilograms of vegetable leaves and weeds (that haven’t gone to seed), add a small amount of bone meal and wood ash, and soak them in clean water. Cover the container, and after 20 to 30 days, skim off the clear liquid from the top, dilute it with water, and use it to water your vegetables. The vegetable leaves provide nitrogen, the bone meal provides phosphorus, and the wood ash provides potassium—this is considered a traditional, balanced liquid fertilizer.
Micronutrient Fertilizer: Supplement what’s missing—don’t wait until the leaves turn yellow to panic.
Although the demand for micronutrients is low, a deficiency in even a single one will result in noticeable symptoms. Iron deficiency causes new leaves to turn yellow; magnesium deficiency causes yellowing between the veins of older leaves; calcium deficiency causes blossom-end rot in tomatoes. Preventing problems in advance is much easier than trying to fix them after they occur.
Scallion Peel Infusion: Don’t throw away the dry scallion peels that come off when peeling scallions. Collect one or two scallion peels, cut them into small pieces, and soak them in 10 jin of hot water at 40 to 45 degrees. Cover and let it steep for a week; the resulting scallion peel infusion contains sulfur, calcium, potassium, and various trace elements. Dilute it with water and use it to water leafy greens—it will make the leaves deeper in color and more vibrant.
Reusing Eggshell Powder: The eggshell powder used for phosphorus fertilizer contains trace elements such as iron, zinc, and magnesium. Mix a small amount into the soil when preparing base fertilizer—it’s more convenient than buying trace-element fertilizer separately.
Kelp Powder: If you can find dried kelp or kelp meal, this is a very common trace-element supplement in organic gardening in Europe and the United States. Grind sun-dried kelp into a powder and mix a small handful into the soil when repotting, or soak it in water to make a kelp solution to add to your watering water. Kelp contains natural growth hormones and more than 60 trace elements, which help improve plants’ stress tolerance.
Two General Methods: Compost Tea and Sealed Composting
If you don’t want to sort by nutrient type and would rather process all your kitchen scraps in one go, try these two general methods.
Compost tea: Find a bucket or wide-mouth jar with a lid, toss in all your vegetable scraps, fruit peels, eggshells, fish scales, bone fragments, and moldy beans, add enough water to cover the ingredients, and seal the lid tightly. Place it in a corner of your balcony. In summer, it takes about 2 to 3 weeks; in winter, 2 to 3 months. When the liquid turns deep black and smells like soil, it’s ready. To use, skim off the clear liquid from the top, dilute it with 9 parts water, and use it to water your potted plants as a top-dressing fertilizer. After use, refill the bucket with water to continue the composting process—you can reuse it repeatedly.
Bucket Composting: Find a large plastic bag or a plastic bucket with a lid. Mix kitchen scraps with old potting soil, spray a small amount of water to keep it moist (it should feel like a wrung-out towel), and pack it into the bag or bucket, sealing the opening tightly. Place it in a cool, shaded spot for about 2 to 3 months. Open it to check—if it smells like soil rather than a foul odor, it’s fully decomposed. This composted soil can be used directly as a base fertilizer or lightly buried along the edge of a pot as a top dressing.
Pit composting: If you have a patio or yard, dig a pit in a corner. Fill it in layers, alternating between waste material and soil, water thoroughly once, and cover with plastic sheeting. After six months, dig it up—you’ll have black humus. When using it, mix one part composted soil with three parts fresh soil and plant your vegetables in the mixture.
When making your own organic fertilizer, the hardest part isn’t the recipe—it’s staying consistent. Odor control has a greater impact on whether you can keep this up long-term than the fertilizer itself. Strong-smelling ingredients like fish, intestines, and bones are best stored in a covered outdoor bucket; milder-smelling ones like rice washing water and tea leaves can be kept in a corner of your balcony, but remember to open the lid periodically to let the odors escape.
If this is your first time with balcony vegetable gardening, we recommend starting with just one type of ingredient—soybean pulp water or rice washing water—which will be enough to sustain a balcony garden full of leafy greens. Once you get the hang of it, try making bone meal and eggshell powder. Take it one step at a time, and you’ll soon discover that the cost of fertilizer for your balcony garden has dropped to almost zero, and your vegetables will grow just as well as they would with store-bought chemical fertilizers.