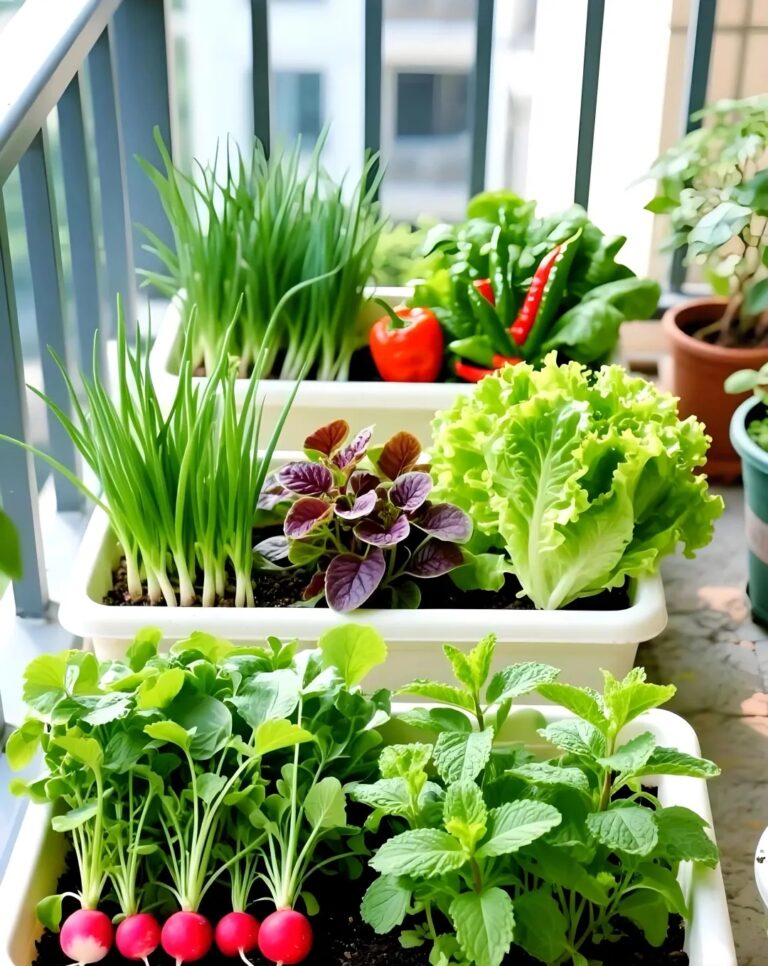
Growing fresh vegetables on your balcony is a rewarding and sustainable hobby. Leaf lettuce is the perfect choice for beginners—it grows quickly, requires minimal maintenance, and yields a bountiful harvest. This guide walks you through the entire process, from soil selection to harvest, so that you can enjoy homegrown greens in just a few weeks.
Choosing the Right Soil
The foundation of healthy growth starts with the right soil. You have two main options, each with specific benefits.
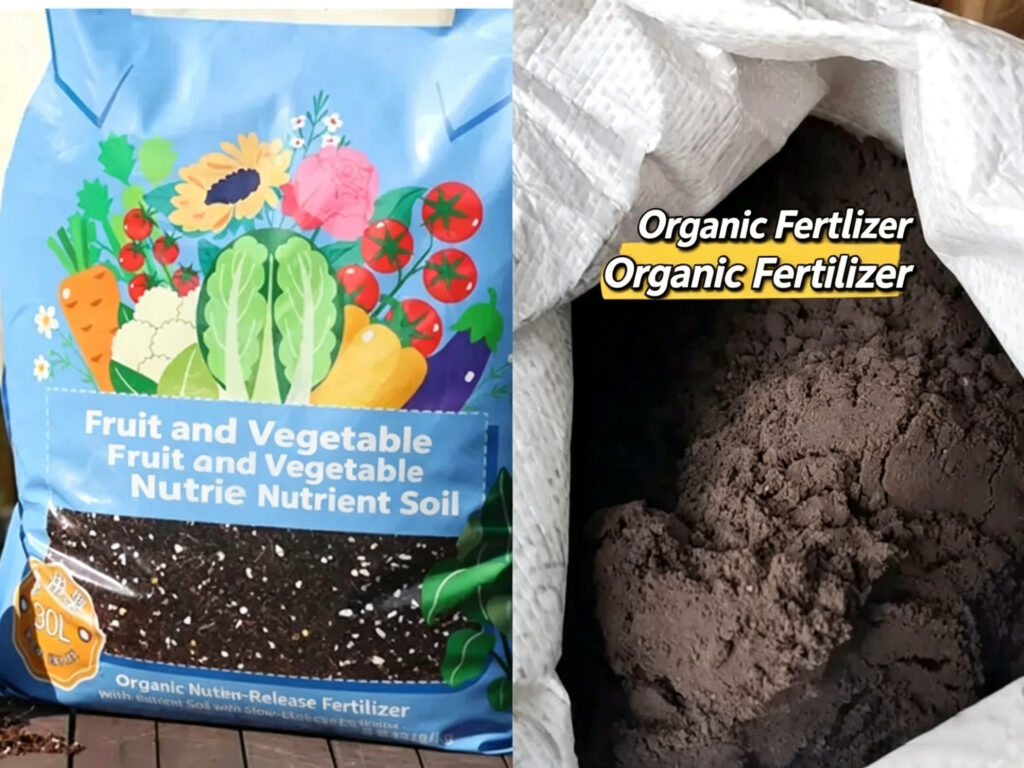
Option 1: Pre-Mixed Vegetable Potting Soil
This commercial mix is specifically formulated for container gardening.
Pros: The nutrient ratio is scientifically balanced, offering excellent drainage and aeration. It is sterile, minimizing the risk of pests and diseases, making it the most foolproof choice for beginners.
Cons: It is more expensive than mixing your own, especially for larger gardens.
Best For: First-time gardeners or anyone seeking convenience.
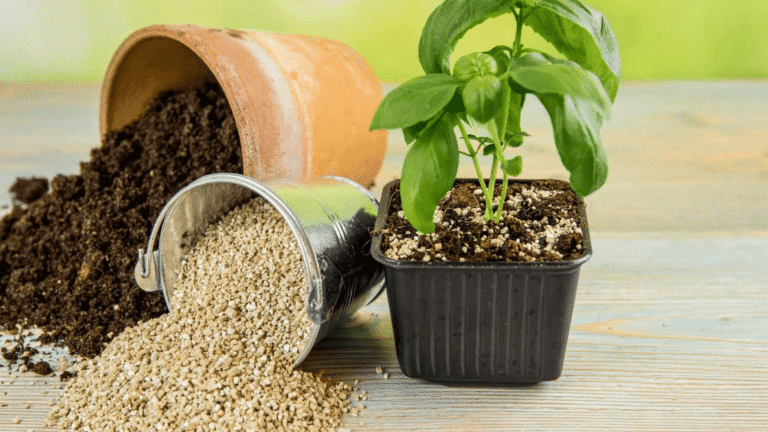
Option 2: DIY Organic Soil Mix
Create your own nutrient-rich blend using basic materials.
Pros: Highly cost-effective and customizable. A standard recipe is three parts garden soil to one part well-rotted compost or manure.
Cons: Requires some knowledge of ratios. If not properly treated, it may introduce weeds or pests.
Tip: If using garden soil, sterilize it by spreading it in a thin layer and leaving it in direct sunlight for 2–3 days.
The 7-Step Planting Process
Follow these clear steps to ensure your lettuce seeds germinate successfully.
Step 1: Prepare the Container
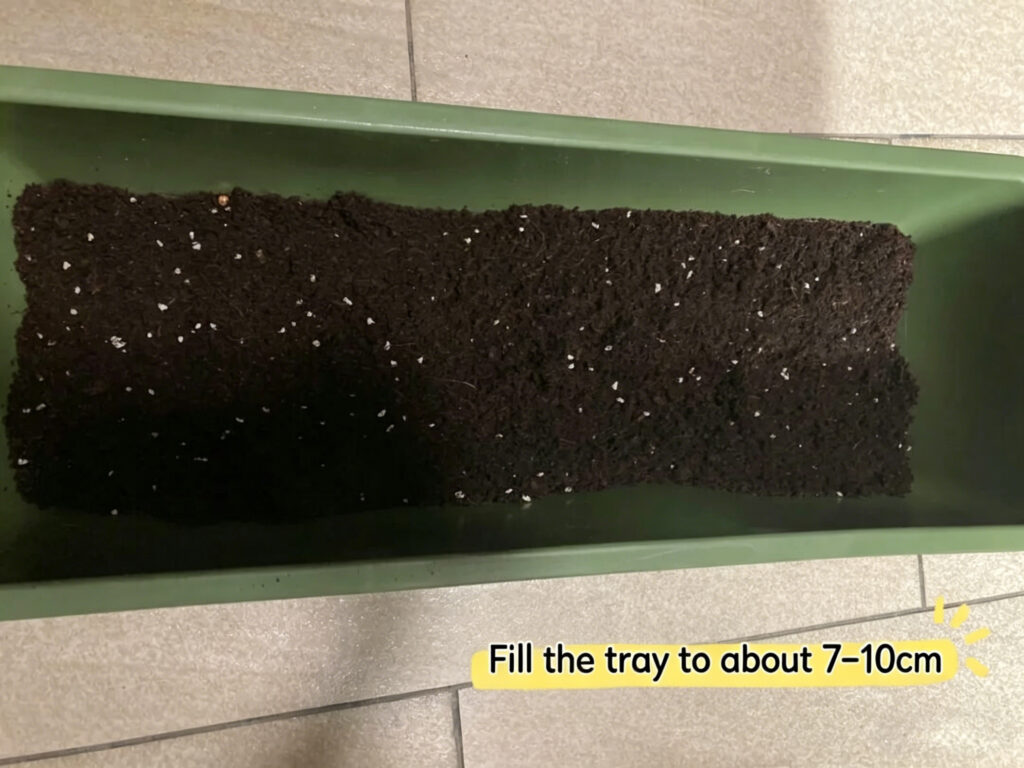
Choose a pot or planter at least 15–20 cm deep with adequate drainage holes.
Fill: Add your chosen soil, leaving a 2–3 cm gap from the rim.
Depth: Aim for a soil depth of 7–10 cm. This provides enough room for root development without wasting space.
Step 2: Create Planting Rows
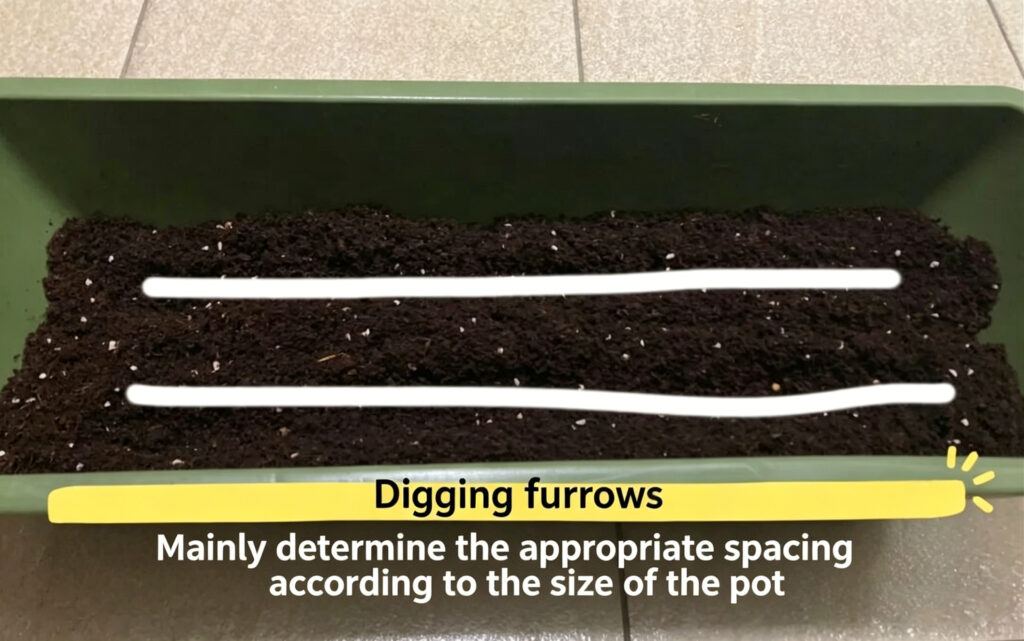
The organization prevents overcrowding and promotes healthy growth.
Action: Use a small trowel or stick to create shallow furrows (trenches).
Spacing: For a standard pot, create 2–3 furrows spaced 5–8 cm apart. This gives each plant enough access to light and air.
Step 3: Pre-Moisten the Soil
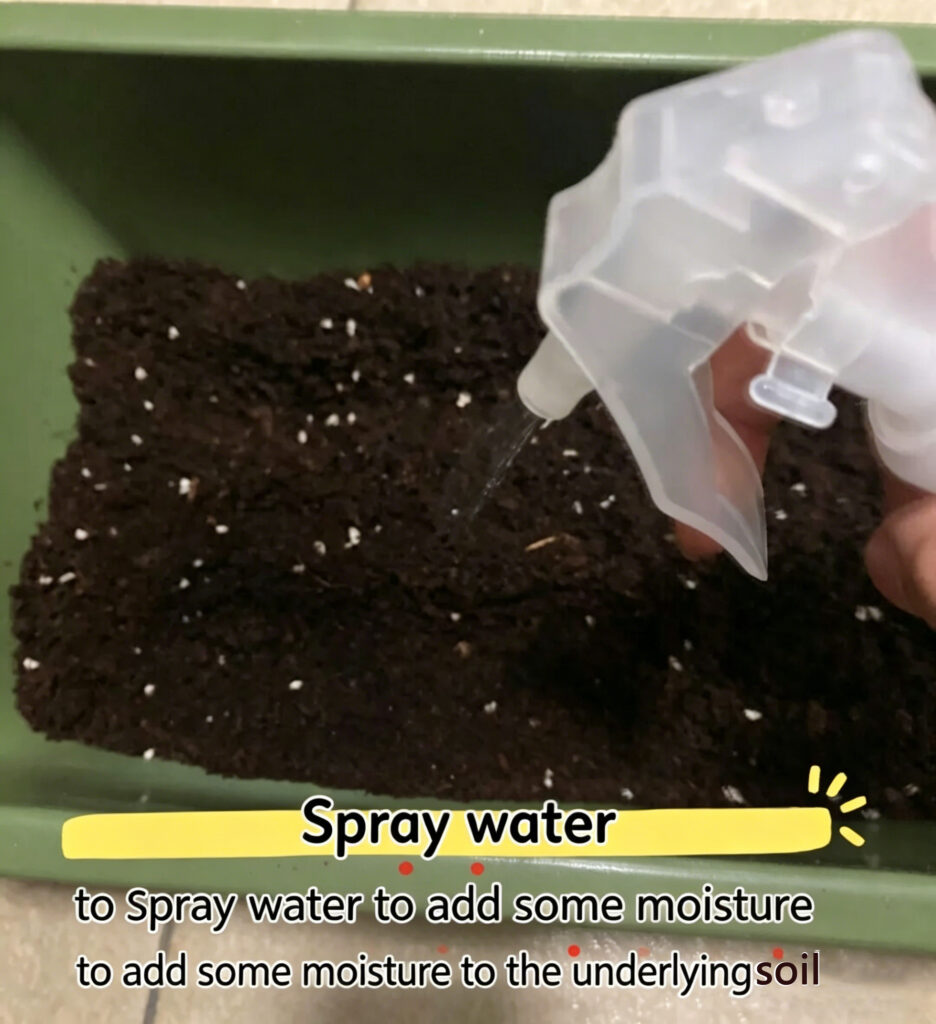
Seeds need consistent moisture to germinate.
Action: Gently water the bottom of the furrows using a spray bottle or a watering can with a fine spout.
Goal: The soil should be damp but never waterlogged.
Step 4: Sow the Seeds
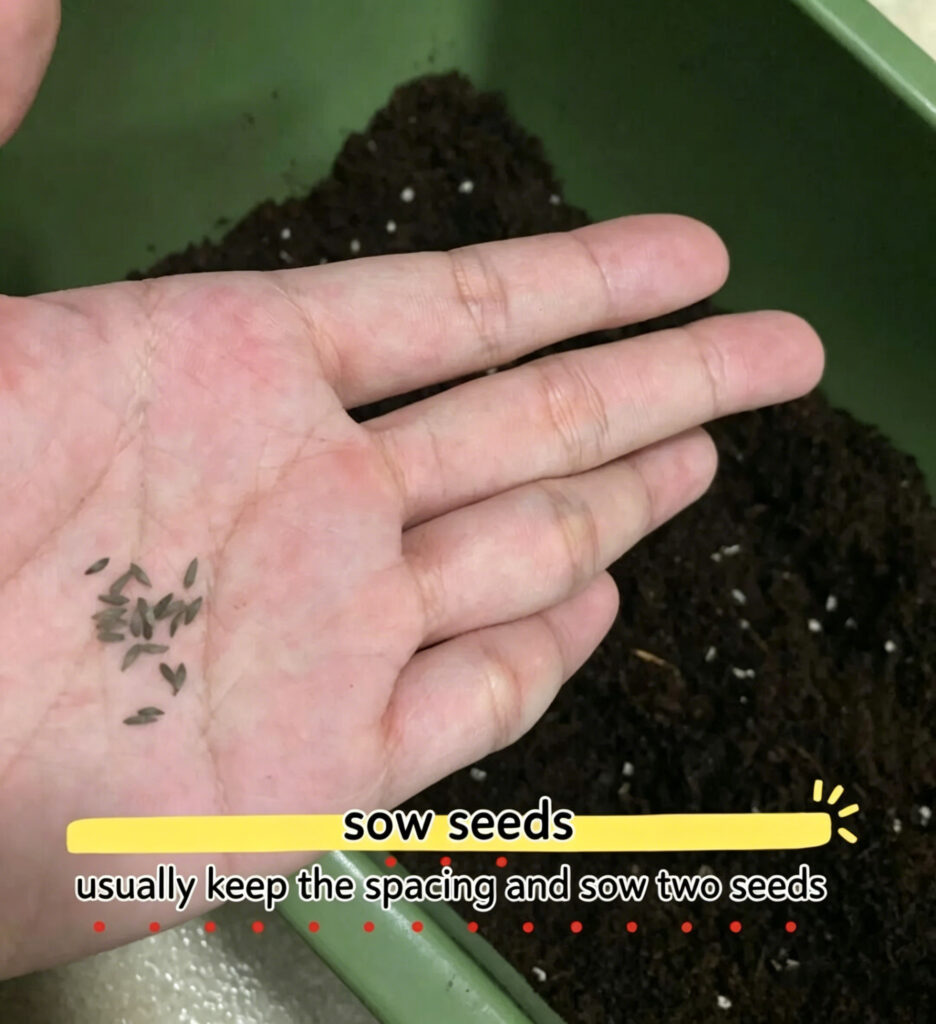
Proper technique prevents a tangled, weak crop.
Action: Place seeds along the furrow, spacing them 3–5 cm apart. Sow two seeds per spot to ensure germination.
Tip: Soaking seeds can speed up sprouting, but dry sowing works perfectly fine. Avoid scattering seeds randomly, as this leads to overcrowding.
Step 5: Set the Seeds
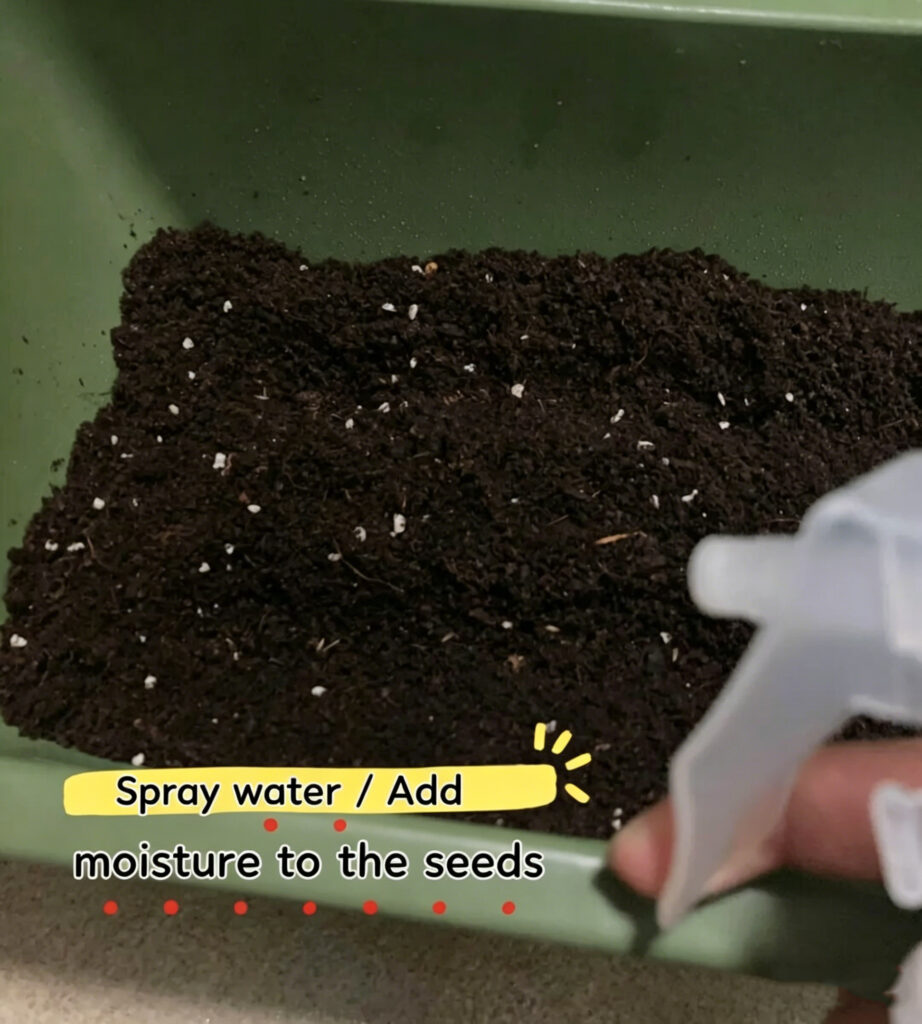
Ensure the seeds make good contact with the soil.
Action: Lightly mist the sown seeds with water. This settles them into place and triggers the absorption process.
Caution: Use a gentle spray to avoid washing the tiny seeds away.
Step 6: Cover the Seeds

A light covering protects the seeds and locks in humidity.
Action: Sprinkle a thin layer of fine soil or vermiculite over the seeds.
Depth: Cover to a depth of about 0.5 cm. Covering them too deeply will prevent them from sprouting.
Step 7: Final Watering & Placement
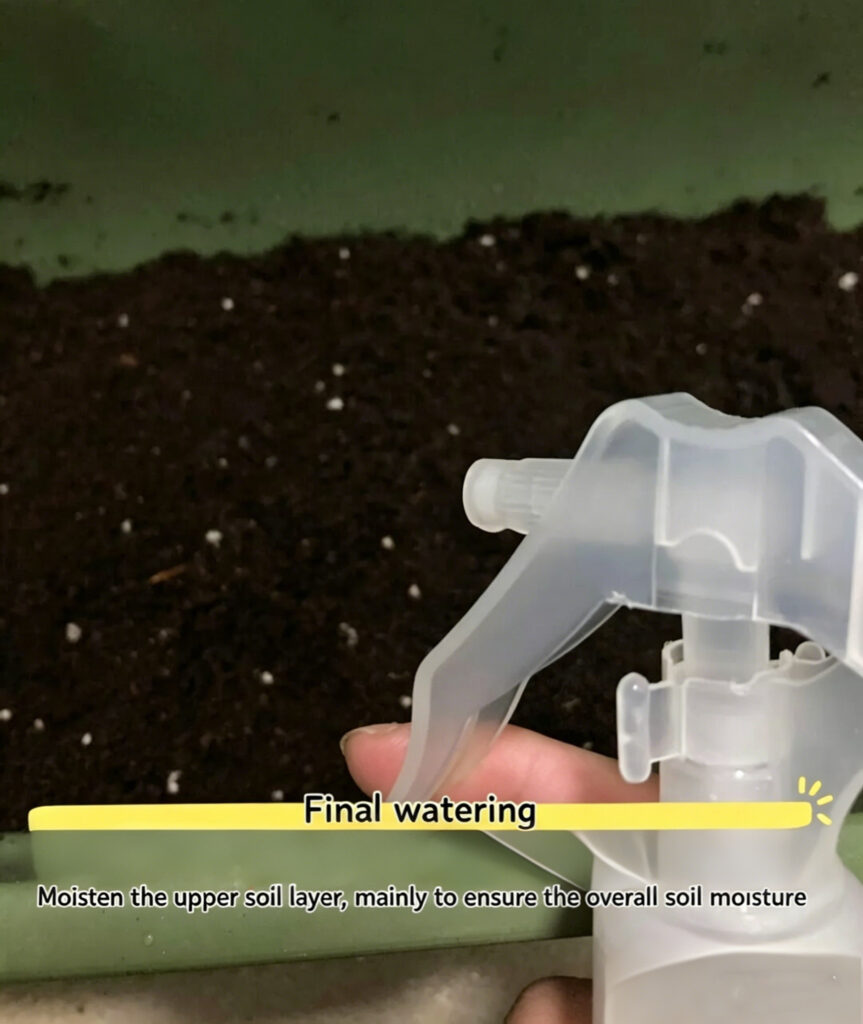
Complete the process with a thorough drink.
Action: Water the entire container gently until you see moisture seep from the drainage holes.
Location: Place the pot in a spot with bright, indirect sunlight. Avoid harsh direct sun until the seedlings are established.
Essential Care Tips
Consistent care ensures a continuous harvest.
Watering Routine
Lettuce has shallow roots and needs steady moisture.
Rule: Perform the “touch test”—water when the top 1 cm of soil feels dry.
Method: Water in the morning at the base of the plants to keep the leaves dry and prevent fungal disease. Avoid overwatering, which causes root rot.
Light & Temperature
Light: Lettuce thrives with 4–6 hours of sunlight daily. In hot climates, provide afternoon shade to prevent bolting (premature flowering).
Temperature: The sweet spot is 15–25°C (59–77°F). Growth slows in extreme heat or cold.
Harvesting for Continuous Yield
You can start harvesting in about 20–25 days.
“Cut-and-Come-Again“: Use clean scissors to cut outer leaves about 2–3 cm above the soil. The inner core will continue producing new leaves.
Full Harvest: Alternatively, harvest the entire head by cutting it at the base.
Conclusion
Balcony gardening is a simple way to connect with your food. By following this guide, you can successfully grow crisp, fresh lettuce right outside your door. Start your gardening journey this weekend and experience the joy of harvesting your own produce. Happy gardening!