Want to grow fresh vegetables on your own balcony? Even with just a few square meters of space, you can create your own year-round, ready-to-pick vegetable garden. This guide will provide clear steps and practical advice to help you successfully start your balcony gardening journey.
1. Planning Stage: Assessing Conditions and Choosing Varieties
Before you start planting, assess the conditions of your balcony and select suitable vegetable varieties—this is the key first step to success.
1.1 Choosing Vegetables Based on Light Conditions
•
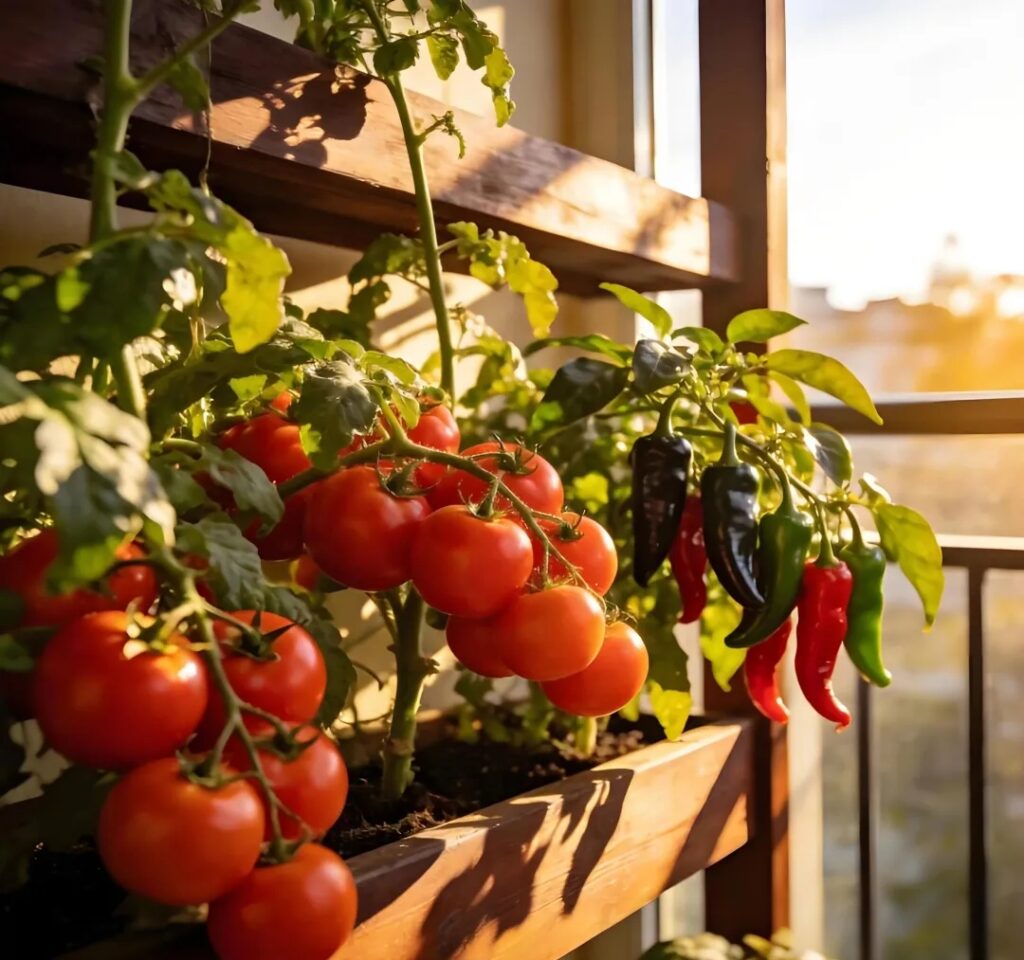
South-facing balconies (5–8 hours of direct sunlight daily): With ample sunlight, these are ideal for growing fruiting vegetables that require plenty of sun, such as cherry tomatoes, cucumbers, chili peppers, bell peppers, and small watermelons.
•
East- or west-facing balconies (3–5 hours of indirect sunlight daily): Moderate light, suitable for leafy greens such as lettuce, spinach, kale, Swiss chard, and herbs (e.g., basil, cilantro).
•
North-facing balconies (less than 2 hours of light per day): Focus on shade-tolerant vegetables such as water spinach, Chinese watercress, mint, garlic chives, and scallions, which thrive even in low-light conditions.

1.2 Space Planning and Vertical Gardening
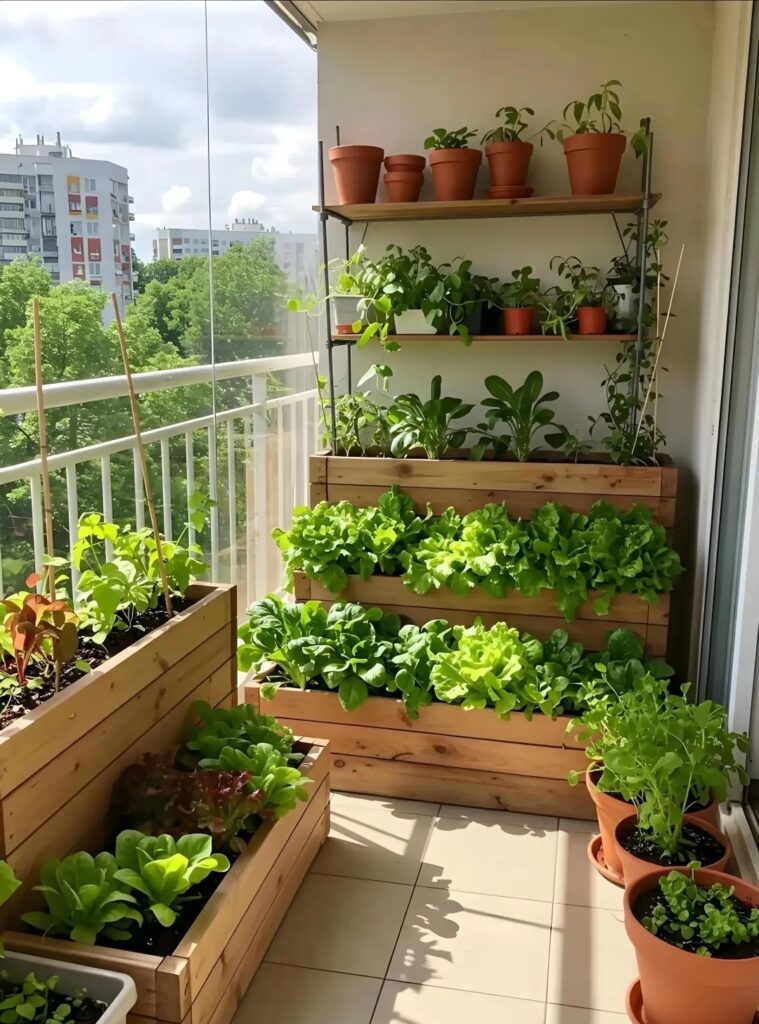
Even with limited space, you can maximize the area through vertical gardening. Use hanging pots for herbs, wall-mounted planters for leafy greens, and trellises for climbing vegetables like cucumbers and green beans. This layered layout not only increases planting capacity but also ensures good ventilation and light penetration, reducing the risk of pests and diseases.
1.3 Choosing the Right Growing Season
Understand your local climate and growing season. Many vegetables are classified as cool-season crops (such as lettuce, spinach, and radishes) or warm-season crops (such as tomatoes, cucumbers, and peppers). Choose varieties based on the season, or consider using grow lights indoors to extend the growing season.
2. Gathering Supplies: Containers, Soil, and Tools
You don’t need expensive equipment; just gather some basic supplies to get started.
2.1 Choosing Planting Containers
Containers must have drainage holes at the bottom to prevent waterlogging and root rot. Choose the depth based on the type of vegetable: leafy greens require containers at least 15 cm deep, while fruiting vegetables need 30 cm or deeper. You can use plastic flower pots, fabric grow bags, wooden crates, or even recycled food containers (after cleaning and drilling holes).


2.2 Preparing Potting Soil
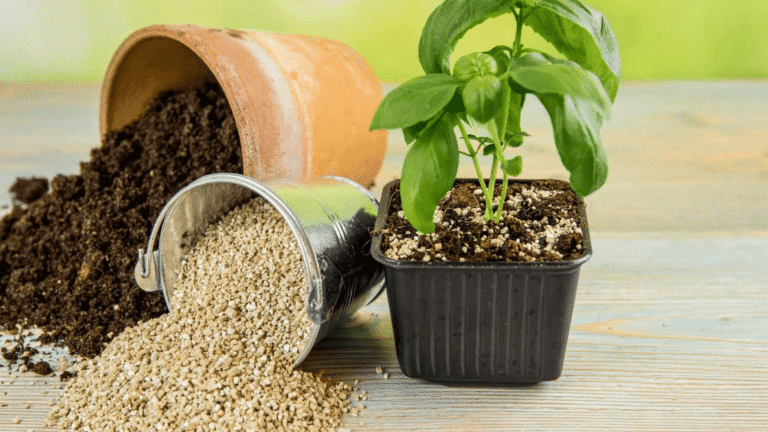
Avoid using garden soil directly, as it tends to compact and may contain insect eggs. A recommended general-purpose potting soil mix is: 60% coconut coir or peat moss, 20% perlite or vermiculite, and 20% well-rotted compost or organic fertilizer. This mixture is loose and well-aerated, retains water and nutrients, and is suitable for most vegetables.

2.3 Seeds and Basic Tools
Choose seeds for common seasonal vegetables and avoid genetically modified or specialty varieties. Basic tools include: a small trowel, a spray bottle, a watering can, gardening gloves, a trellis (bamboo poles or netting), and plant labels.
3. Planting Steps: From Sowing to Transplanting
Follow these steps, and even beginners can get started with ease.
3.1 Sowing and Seedling Care
•
Large seeds (such as cucumbers, beans, and radishes): Soak in warm water for 4 hours to encourage germination, then sow them individually into the soil, covering them with a layer of soil 2–3 times the diameter of the seed.
•
Small seeds (e.g., lettuce, carrots, herbs): Scatter evenly over the soil surface, cover with a thin layer of soil, and lightly mist with a spray bottle to keep the soil moist.
After sowing, place in a warm spot with indirect light and keep the soil slightly moist; seedlings will typically emerge in 3–7 days.


3.2 Thinning and Transplanting
When seedlings develop 2–4 true leaves, thin them out by removing weak or overcrowded seedlings to allow room for the healthy ones to grow. Fruiting vegetables such as tomatoes and peppers can be transplanted into individual deep pots after thinning. After transplanting, shade the plants for 1–2 days to help them acclimate, then gradually increase their exposure to light.

3.3 Trellising and Pruning
When vine vegetables (such as cucumbers, tomatoes, and green beans) reach a height of 20–30 cm, set up trellises or guide them with strings to direct their upward growth. For tomatoes, remove side shoots (retaining the main stem); for cucumbers, retain the main vine for fruiting; and for watermelons, leave only 1–2 fruits per plant to concentrate nutrients.

4. Daily Care: Watering, Fertilization, and Pest and Disease Management
Consistent, attentive care is essential for healthy vegetable growth.
4.1 Watering Principles
Follow the principle of “water only when the soil is dry, and water thoroughly when you do.” Insert your finger 2–3 centimeters into the soil; water only when it feels dry, and continue until water flows out of the bottom of the pot. Avoid “half-watering” (watering only the top layer). Water in the morning and evening during summer; reduce frequency in winter, and avoid watering during the hottest part of the day.

4.2 Fertilization Management
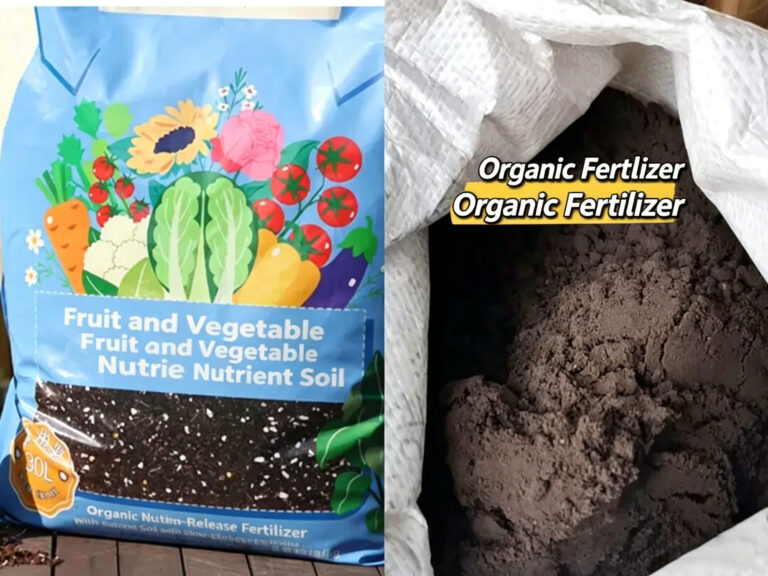
Adopt a strategy of “light but frequent fertilization.” Use well-rotted organic fertilizer as a base fertilizer; mixing it into the soil provides nutrients for about one month. During the growing season, supplement with a balanced water-soluble fertilizer every 2–3 weeks. During the flowering and fruiting stages, apply a high-phosphorus and potassium fertilizer once a week to promote fruit set and enhance flavor. Avoid using uncomposted raw manure or over-fertilizing.

4.3 Pest and Disease Control
Balcony environments typically have few pests and diseases. Prioritize physical control methods: hang yellow sticky traps to attract and kill fruit flies; spray a garlic and chili pepper solution to control aphids; and maintain good ventilation to prevent powdery mildew. If necessary, use organic insecticides such as neem oil or matrine, which are safe for consumption.

5. Harvesting and Crop Rotation: Techniques for Continuous Harvesting
Mastering the correct harvesting methods allows for continuous harvesting, one crop after another.
5.1 Harvesting Leafy Greens
Use the “leaf-picking method”: Harvest only the mature outer leaves, leaving the central growing point intact. Apply a small amount of liquid fertilizer after harvesting; the plants will be ready for another harvest in 7–10 days. Chives, scallions, and similar crops can be cut at the base; sprinkle a small amount of wood ash after cutting to promote regrowth.

5.2 Harvesting Fruiting Vegetables
Tomatoes, cucumbers, and similar crops should be picked promptly when fully ripe but not overripe, as this stimulates the plant to continue flowering and fruiting. Use scissors for harvesting to avoid damaging the plant by pulling. The harvesting period for fruiting vegetables typically lasts several months.

5.3 Crop Rotation and Soil Renewal
At the end of a growing season, remove plant debris and replace or refresh the potting soil. Rotate crops from different plant families to reduce soil-borne diseases. For example, after the tomato season, you can switch to legumes or leafy greens. This allows for year-round production in your balcony garden.