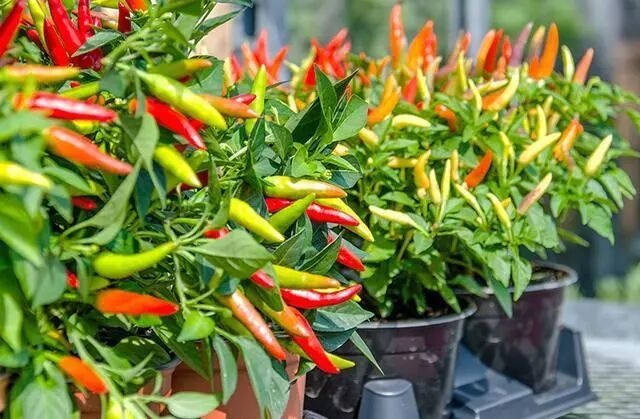
Hot peppers and sweet peppers are among the most rewarding crops for balcony and patio gardeners. A healthy, medium-sized potted pepper plant can produce dozens of fruits from midsummer through fall, and compact varieties take up very little space. If you are learning how to grow chili peppers in pots, chili peppers are one of the easiest and most productive crops to start with in container gardening.
Compared to tomatoes, peppers are easier to care for—they don’t require complicated pruning, are more tolerant of brief periods of drought, and both hot and sweet varieties thrive in pots. If you are learning how to grow tomatoes on a balcony, you will notice that peppers are generally much more forgiving and easier for beginners to manage in container gardens.
With the right varieties and by following a few simple steps, just three or four pepper plants are enough to supply a family’s fresh pepper needs for the entire growing season.
How to Choose the Right Chili Pepper Varieties for Container Gardening
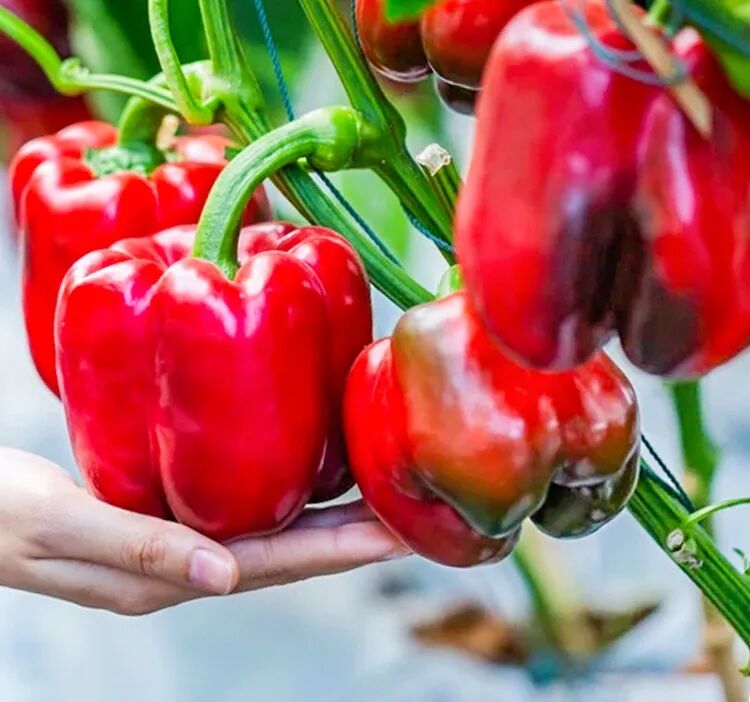
Sweet peppers (which turn green, red, orange, or yellow when fully ripe) and hot varieties such as jalapeños, cayenne peppers, Thai bird’s eye peppers, or habanero peppers are all well-suited for container gardening. If you have limited space on your balcony, varieties labeled “dwarf” or “garden-specific” are ideal.
If your goal is to get the maximum number of fruits per plant, medium-sized hot pepper varieties are usually the most reliable. Large-fruited sweet peppers require larger pots, but they can still produce a decent harvest in 5- to 7-gallon (about 20 to 27-liter) containers.
You can start from seed or visit your local nursery in the spring to purchase ready-to-plant seedlings. Seeds harvested from a fully matured chili pepper can be dried and stored for use the following season.
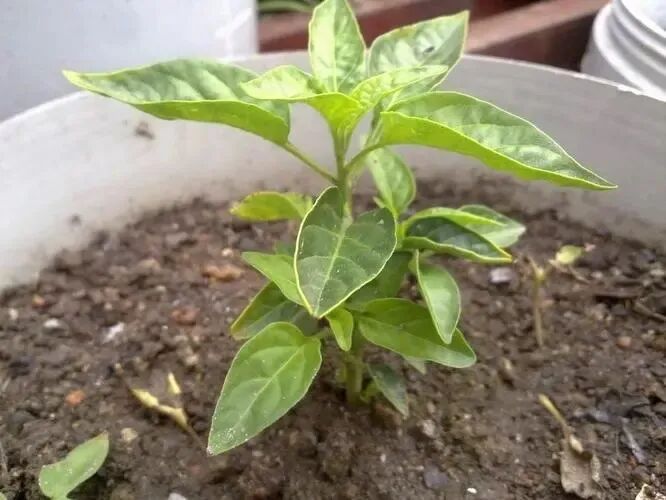
Starting from Seeds or Buying Seedlings
Chili pepper seeds should be sown at a depth of about 0.5 to 1 centimeter in fine, sterile potting mix. Chili peppers require a warm environment to germinate—a soil temperature of 20 to 25 degrees Celsius is ideal; if the weather is cool, you can use a seedling heating mat.
Keep the seed-starting mix slightly moist (without standing water) and cover the tray with a clear lid until the seedlings emerge, which usually takes 7 to 14 days. After germination, remove the lid and move the seedling tray to the brightest spot in your home—a south-facing windowsill or under a full-spectrum LED grow light for 12 to 14 hours a day.
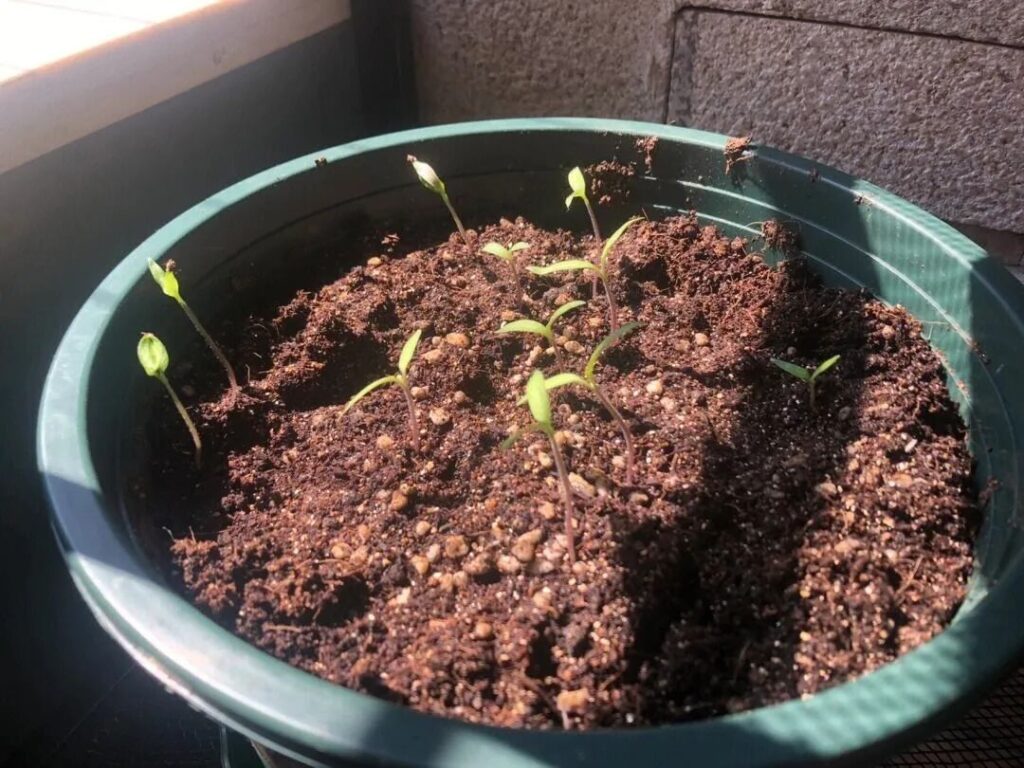
Once the seedlings develop their first pair of true leaves, thin them out or transplant them individually into small pots. Crowded seedlings will grow spindly and weak. If you purchased seedlings from a nursery, you can transplant them directly into their final large pots after the last expected frost date in your area.
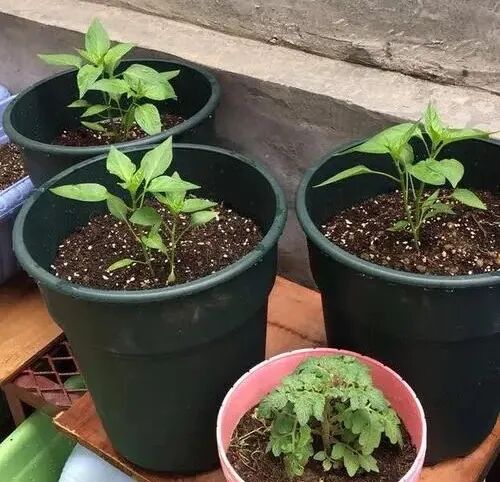
Pot Size, Soil Mix, and Planting Methods
A single chili plant requires at least a 5-gallon (about 20-liter) pot; if you want to grow large sweet peppers or hope for larger, sturdier plants, a 7- to 10-gallon pot works better. Deep pots allow the fibrous root system to spread out fully, thereby supporting more above-ground growth and higher yields.
Use a well-draining potting mix specifically formulated for container gardening—typically a peat moss or coconut coir-based mix blended with perlite or vermiculite. If you plan to grow vegetables on a balcony, choosing the right soil mix is especially important for healthy root development and strong plant growth. Avoid heavy garden soil, which tends to compact in pots and can suffocate the roots.
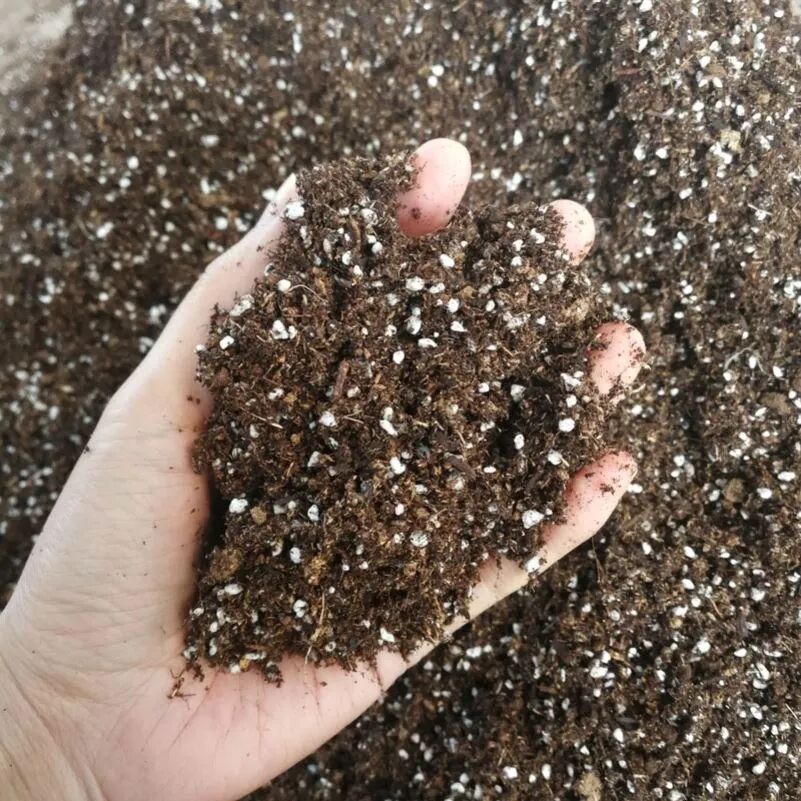
Before planting, you can mix compost or slow-release organic granular fertilizer into the lower half of the potting mix. When transplanting, maintain the same planting depth as in the original seedling pot—do not bury the stem any deeper. Water thoroughly after planting, and ensure the pot has unobstructed drainage holes at the bottom.
Light, Watering, and Fertilizing
Chili peppers love sunlight and need 6 to 8 hours of direct sunlight each day. A south- or west-facing balcony, patio, or sunny windowsill works best. Insufficient light can result in sparse flowering and low fruit set.
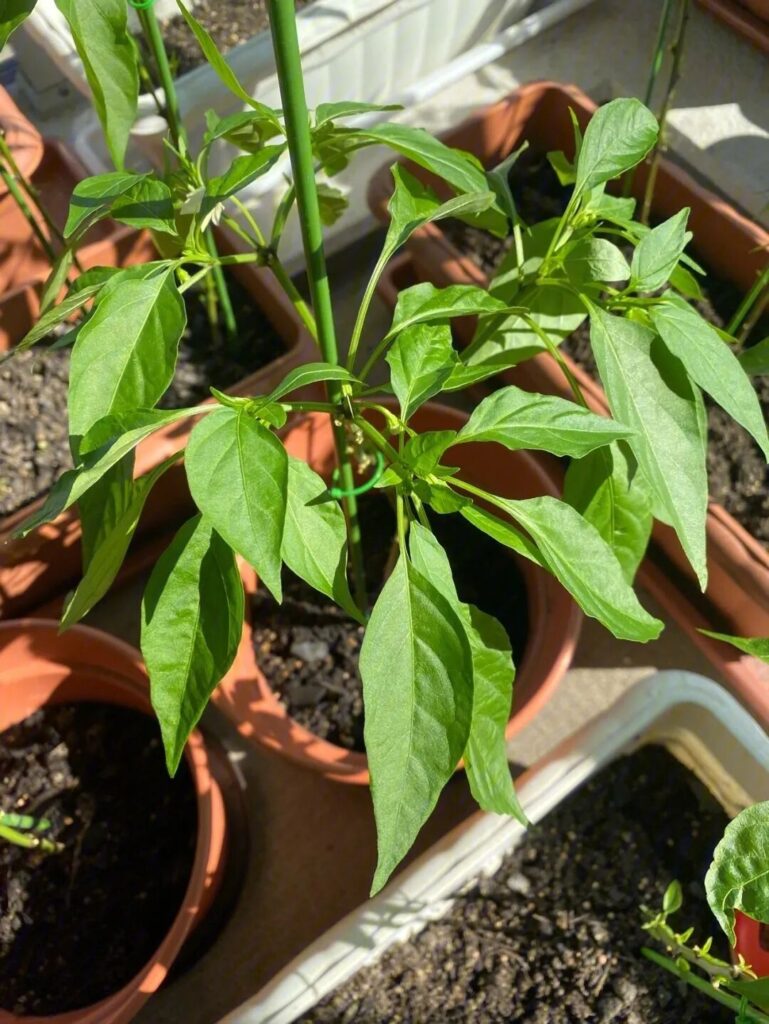
Check soil moisture regularly. When learning how to water potted vegetables, it’s important to develop a consistent watering routine. Water when the top one to two inches (about 2.5 to 5 centimeters) of soil feels dry, and continue watering until water flows out of the bottom of the pot. Discard any standing water from the saucer and do not let the pot sit in water—chili peppers do not like their roots to be constantly wet, as this can lead to root rot.
During the growing season, apply a balanced liquid fertilizer (such as 10-10-10 or fish emulsion) every two to three weeks. Once flowering and fruit set begin, switch to a formula higher in phosphorus and potassium to promote flowering and fruit set (such as 5-10-10). Potted plants rely entirely on you for nutrients, so regular fertilization is crucial.
Increase Yield Through Pruning and Pinching
When the seedlings reach about 15 to 20 centimeters in height and have developed several pairs of true leaves, you can pinch off the terminal bud (this is called “pinching” or “topping”). This helps prevent the plant from growing too tall and encourages side shoots to develop from the lower leaf axils.
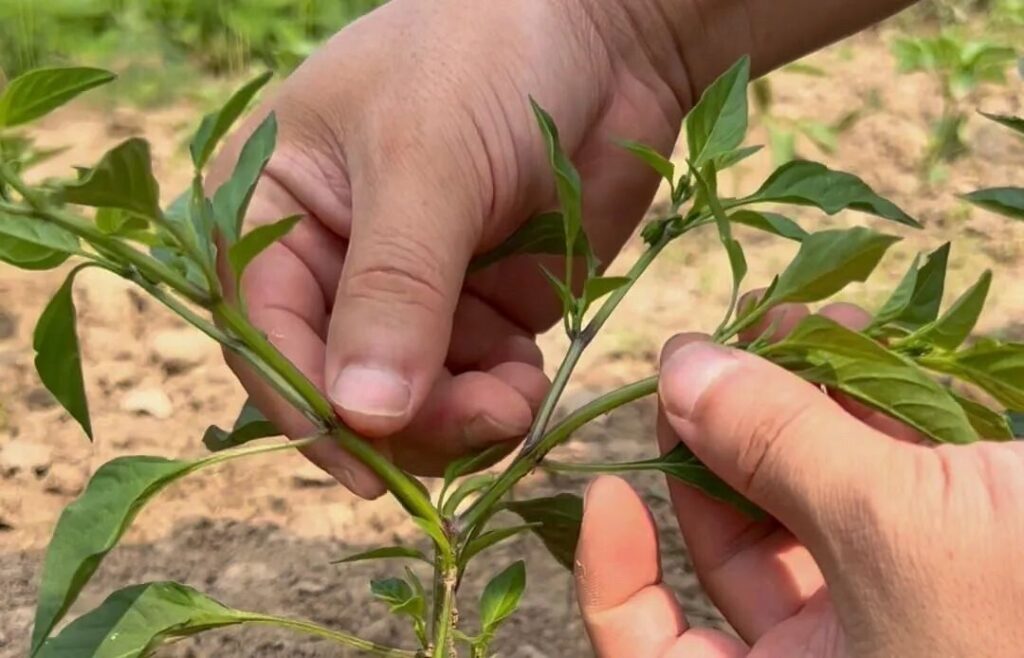
Allow the side shoots to continue growing; if you want a bushier plant, you can pinch off the tips of the side shoots as well later in the growing season. More branches mean more places for flowers to form, which means more chili peppers.
Promptly remove small shoots (also called “suckers”) that emerge from the base of the main stem, as well as any flowers or small fruits that appear while the plant is still very young—allowing a tiny seedling to expend energy on fruiting too early will actually hinder its overall growth.
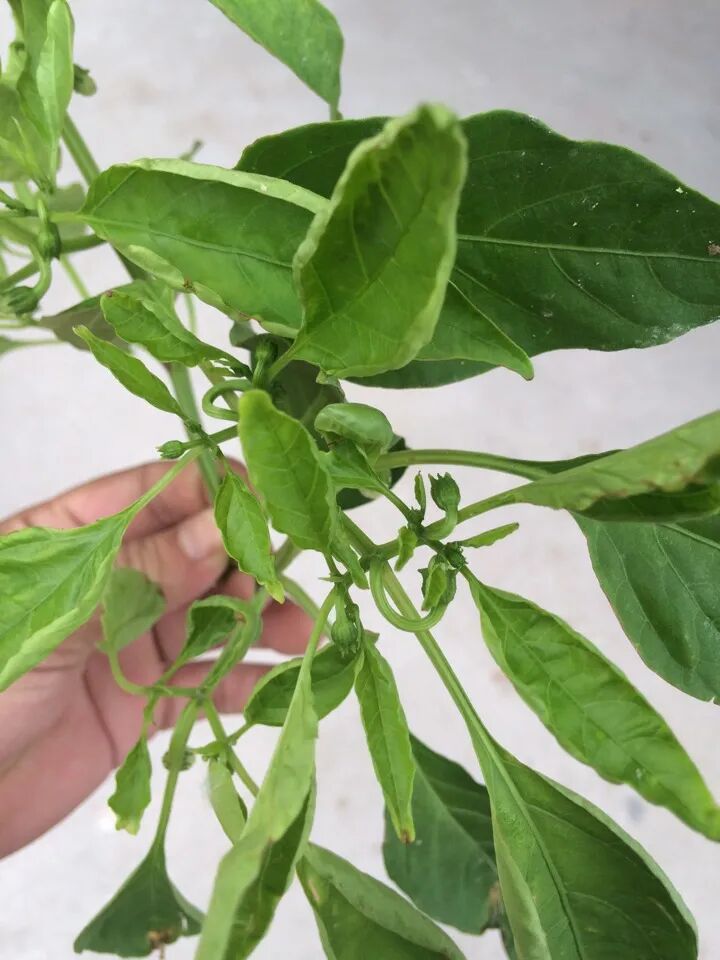
A chili plant that has been properly pinched back and lightly pruned will typically grow shorter, stockier, and sturdier, making it less prone to lodging, and will yield significantly more than a plant left to grow into a tall, spindly stem.
Harvesting and Promoting Continuous Fruiting
Harvest chili peppers when they reach your desired size and color. Sweet peppers can be eaten while still green, but if you let them fully ripen on the vine until they turn red, orange, or yellow, they will taste sweeter and be richer in vitamins. Hot peppers can be harvested at any stage of ripeness.
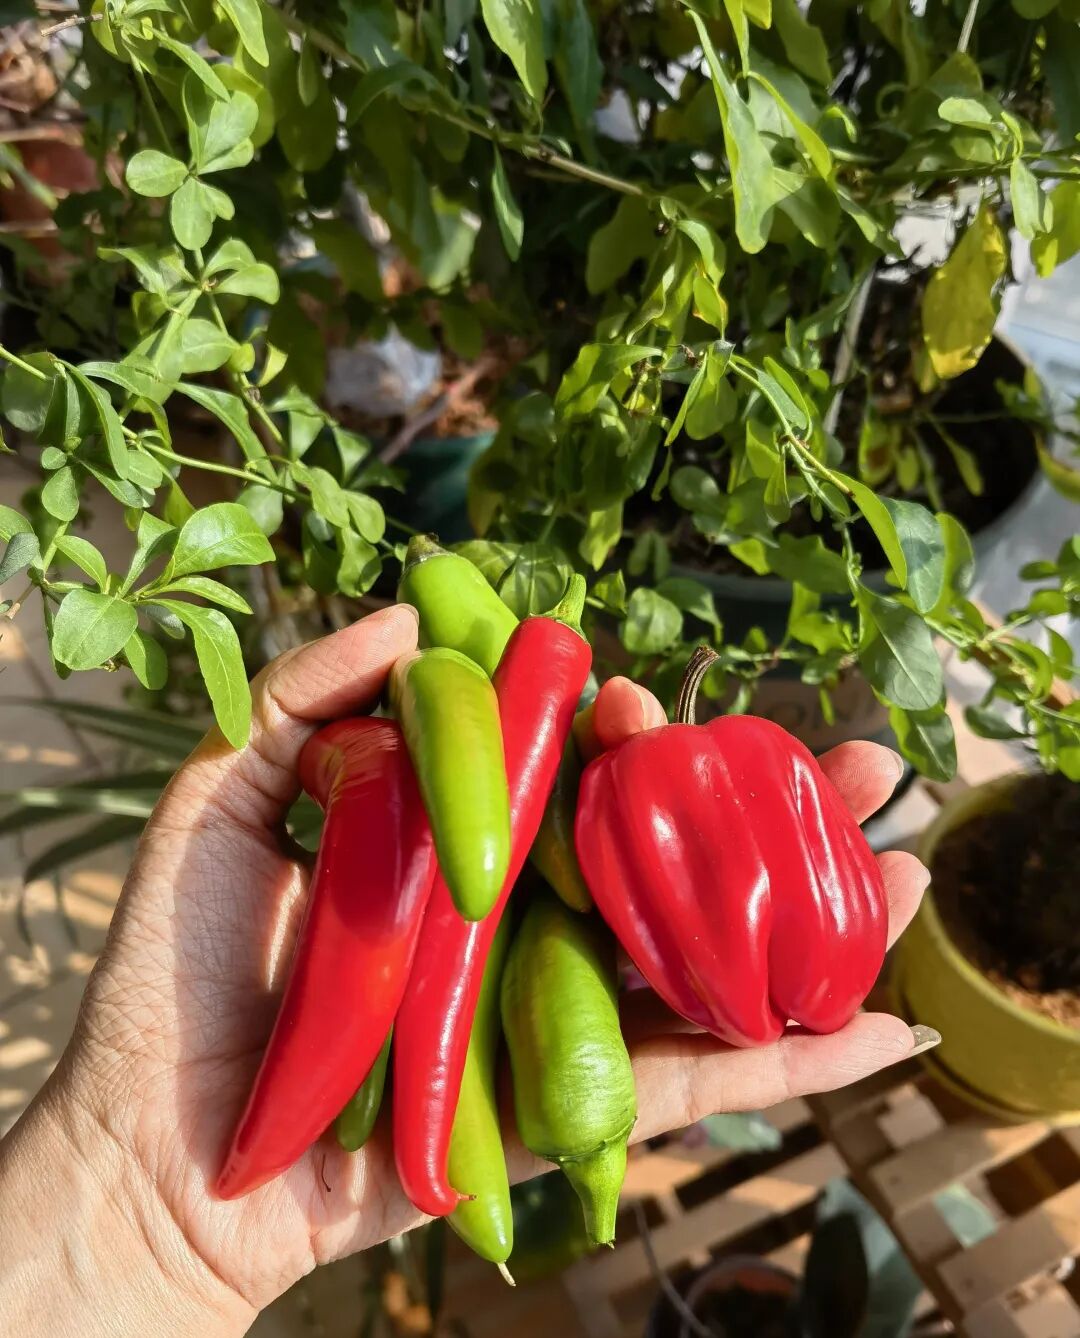
Use clean pruning shears or scissors to cut the fruit off at the stem; do not pull them off by hand to avoid breaking the branches. Regular harvesting signals the plant to continue flowering and producing fruit until the weather turns cooler.
Remove yellowing leaves at the base of the plant as needed to improve airflow, and keep an eye out for common pests such as aphids—wiping them off with a damp cloth or spraying with insecticidal soap is usually sufficient to control minor infestations.